
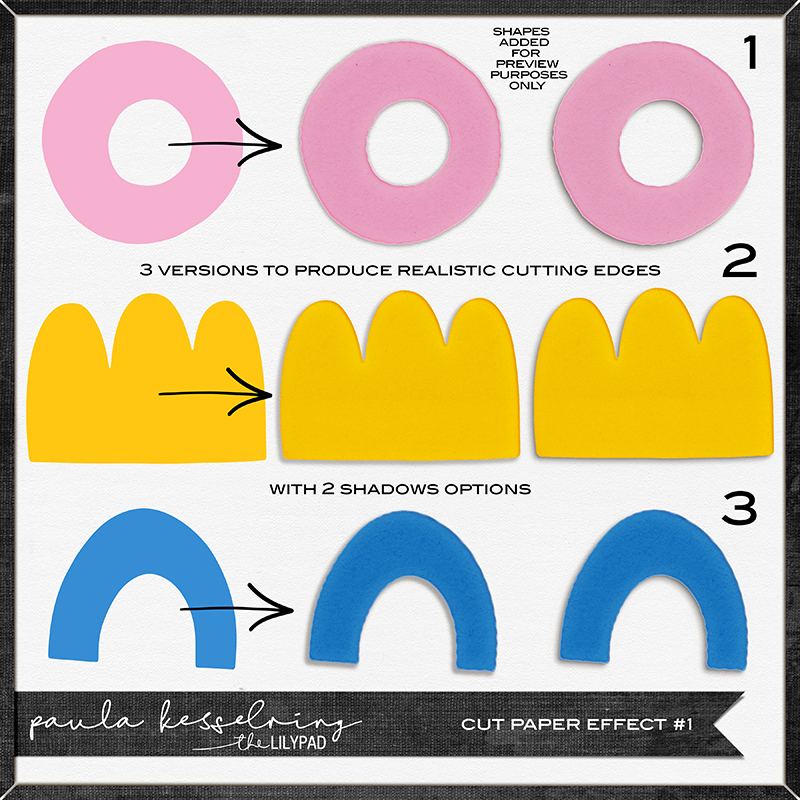
Today I released a new PS EFFECT called CUT PAPER EFFECTS.
Now I will show you how to use it with this tutorial made by Christa (cfille @ TLP)
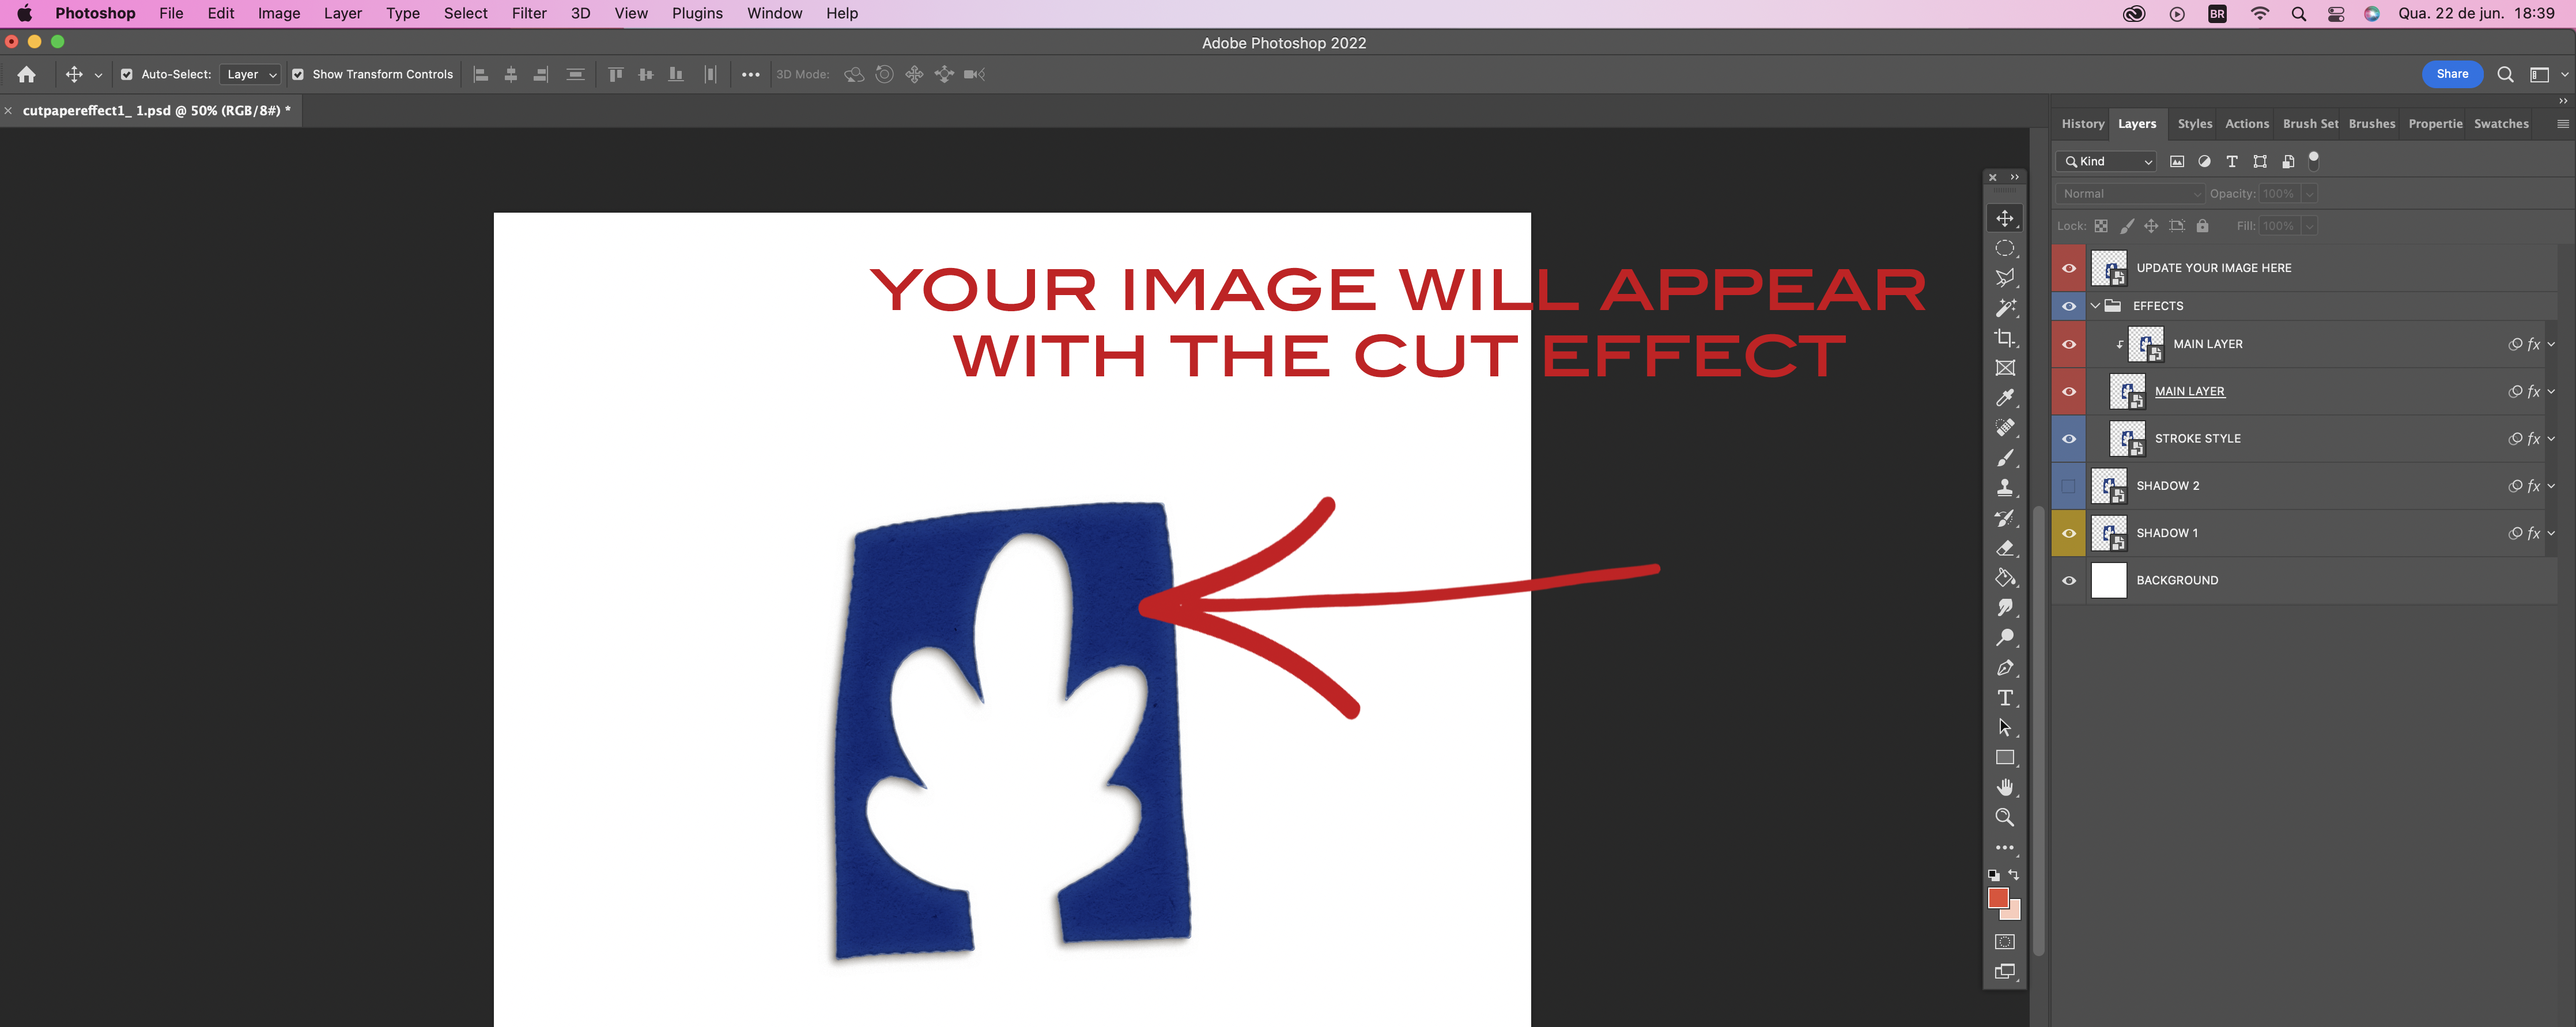
With just a few clicks your elements can have a hand cut look!
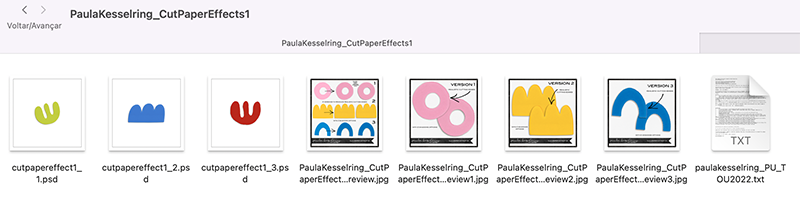
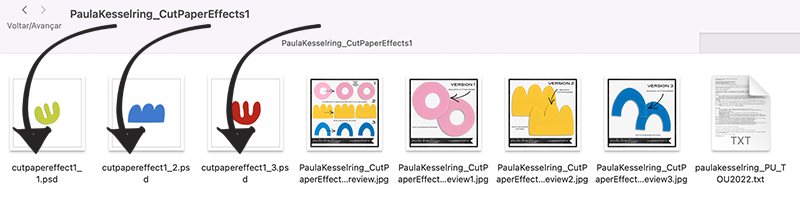
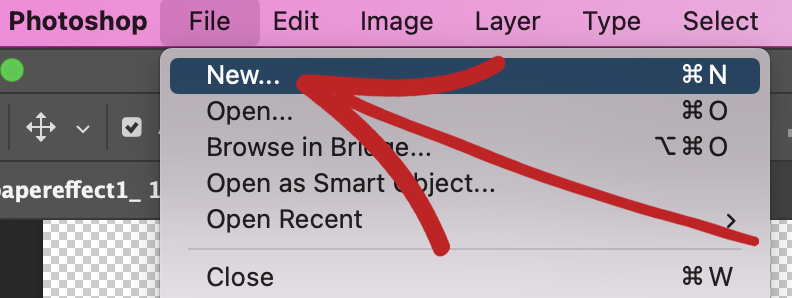
1) Open up the Cut File Effect PSD (1, 2 or 3)
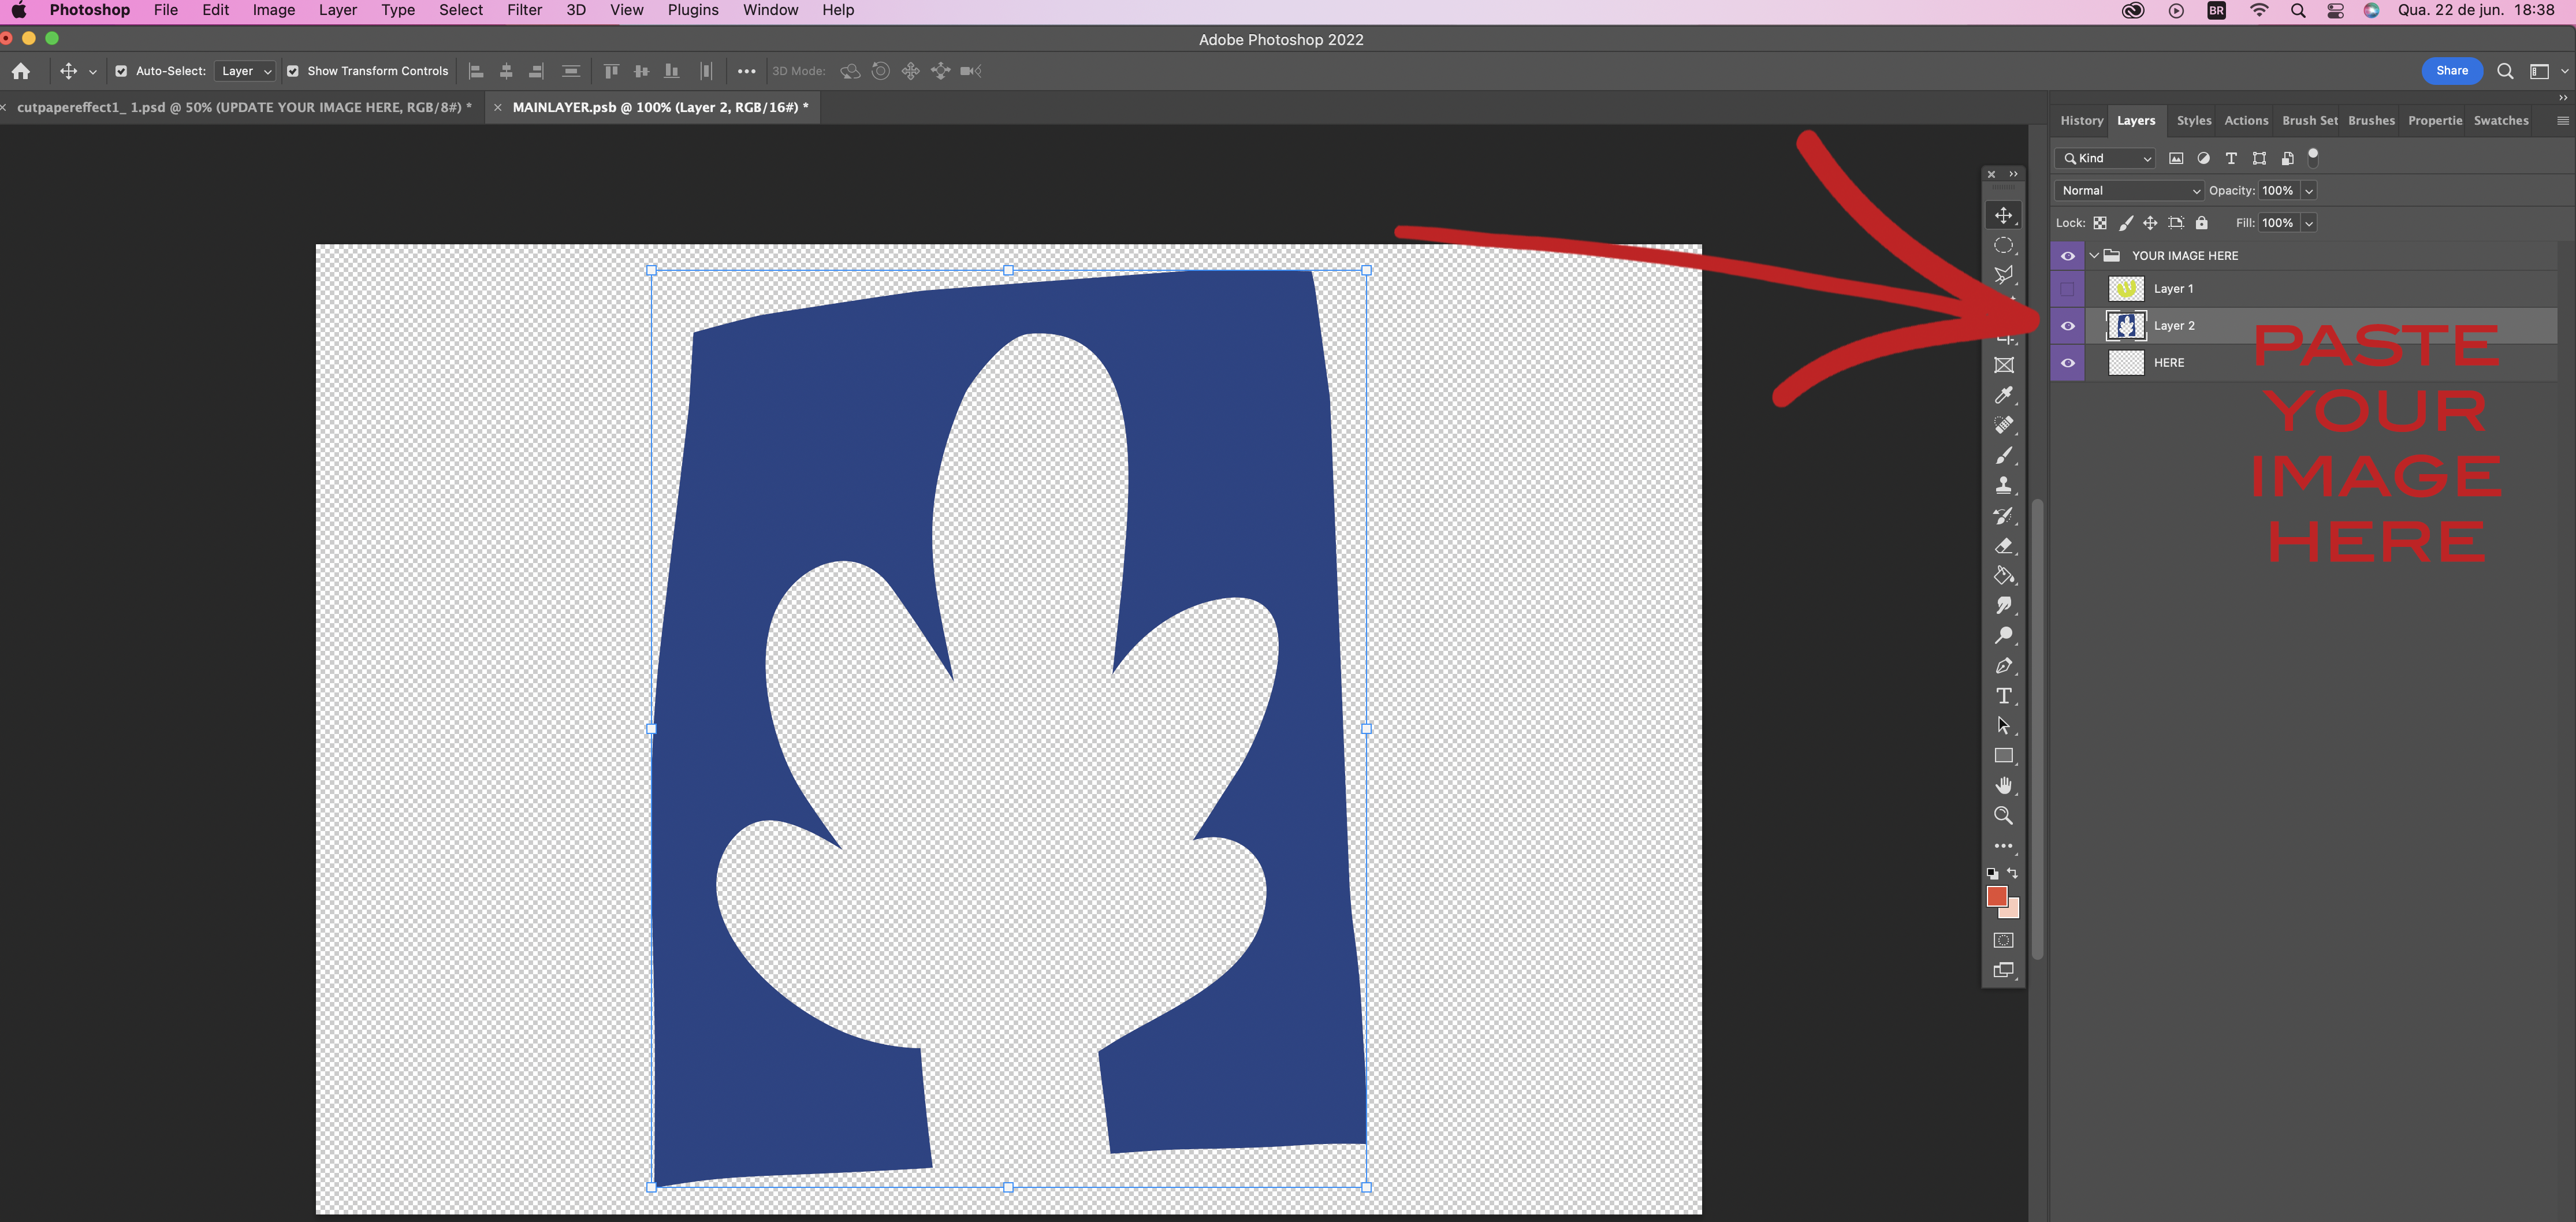
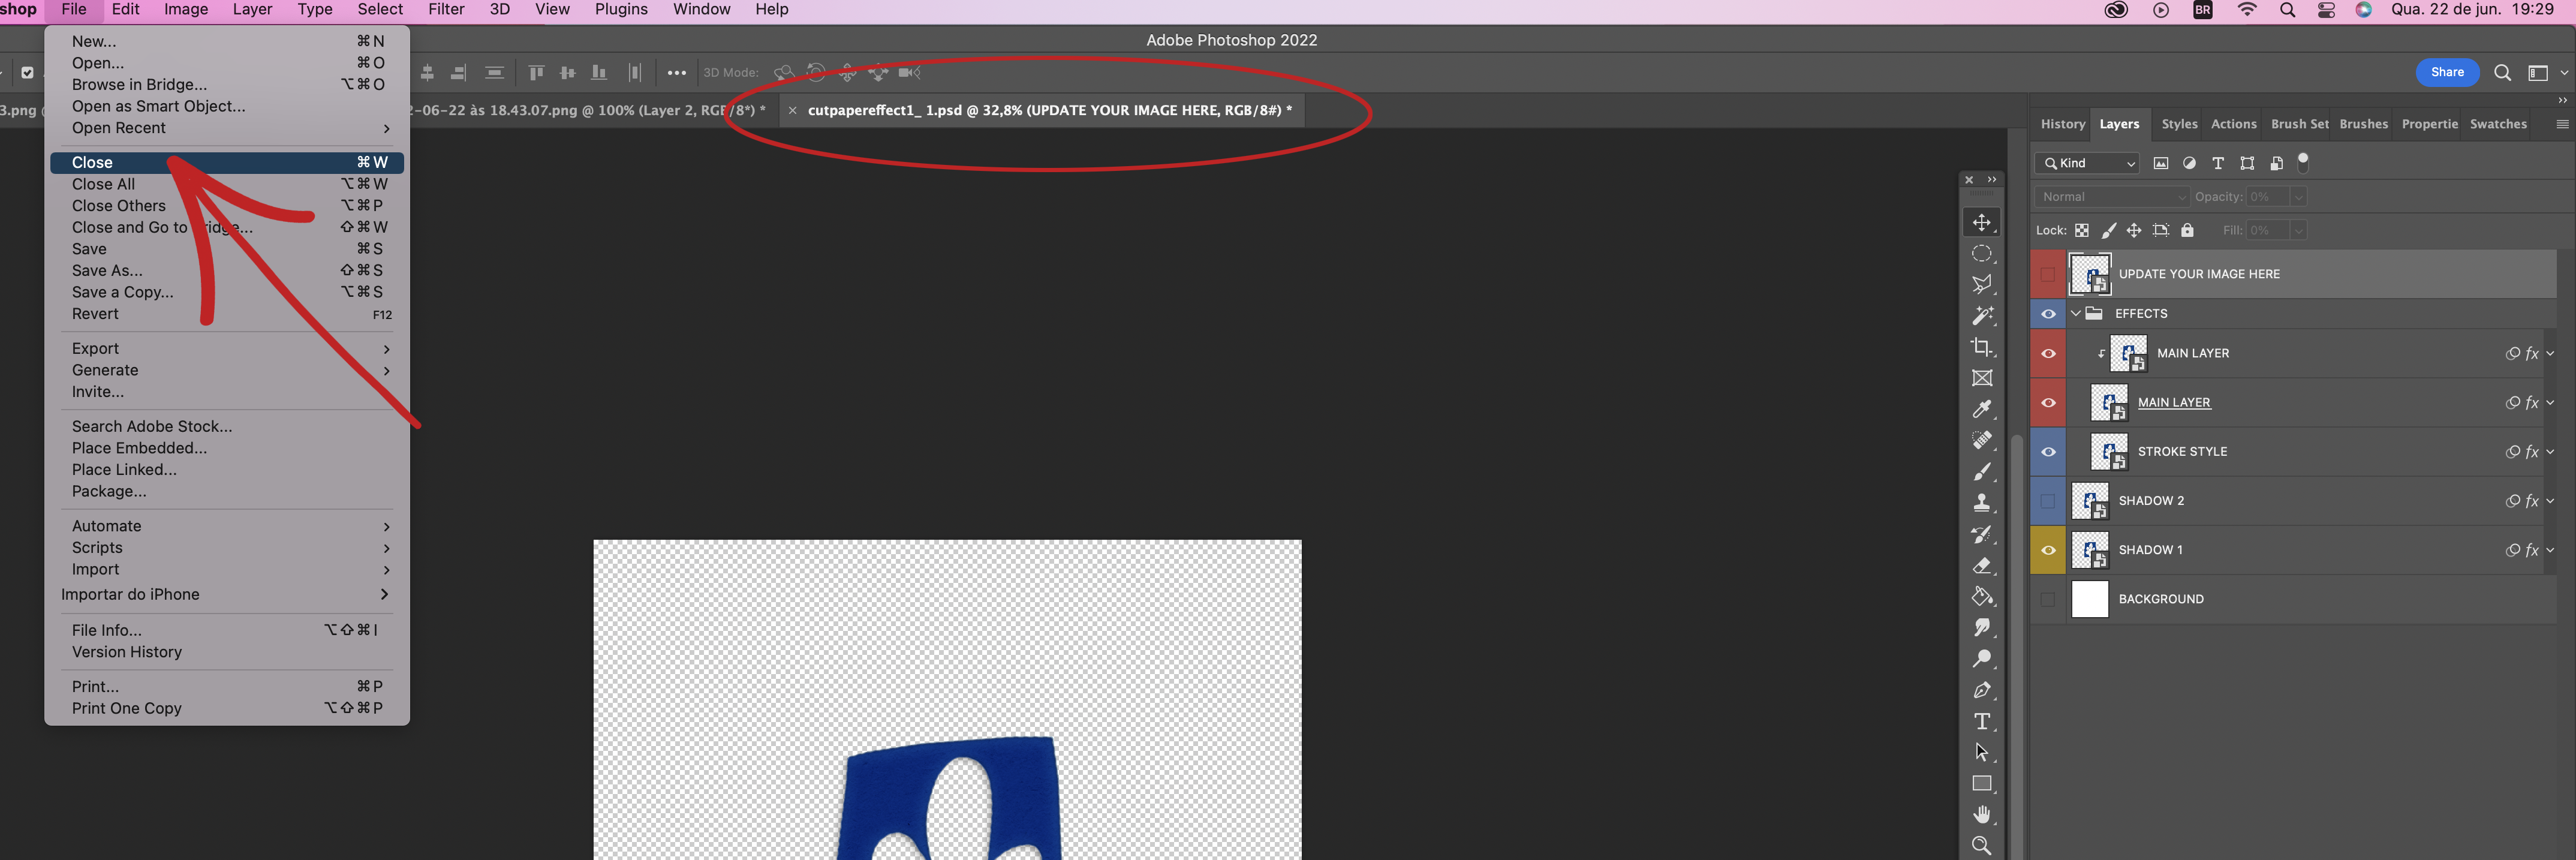
2) Double Click on the UPDATE YOUR IMAGE HERE layer in the layer panel.

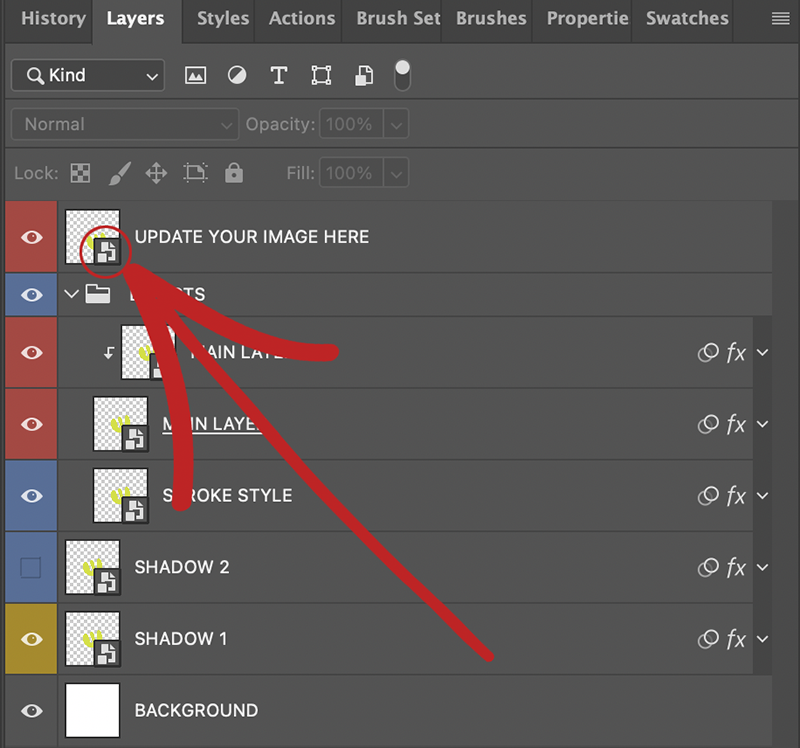
This will open up a new window and reflect as a PSB file.

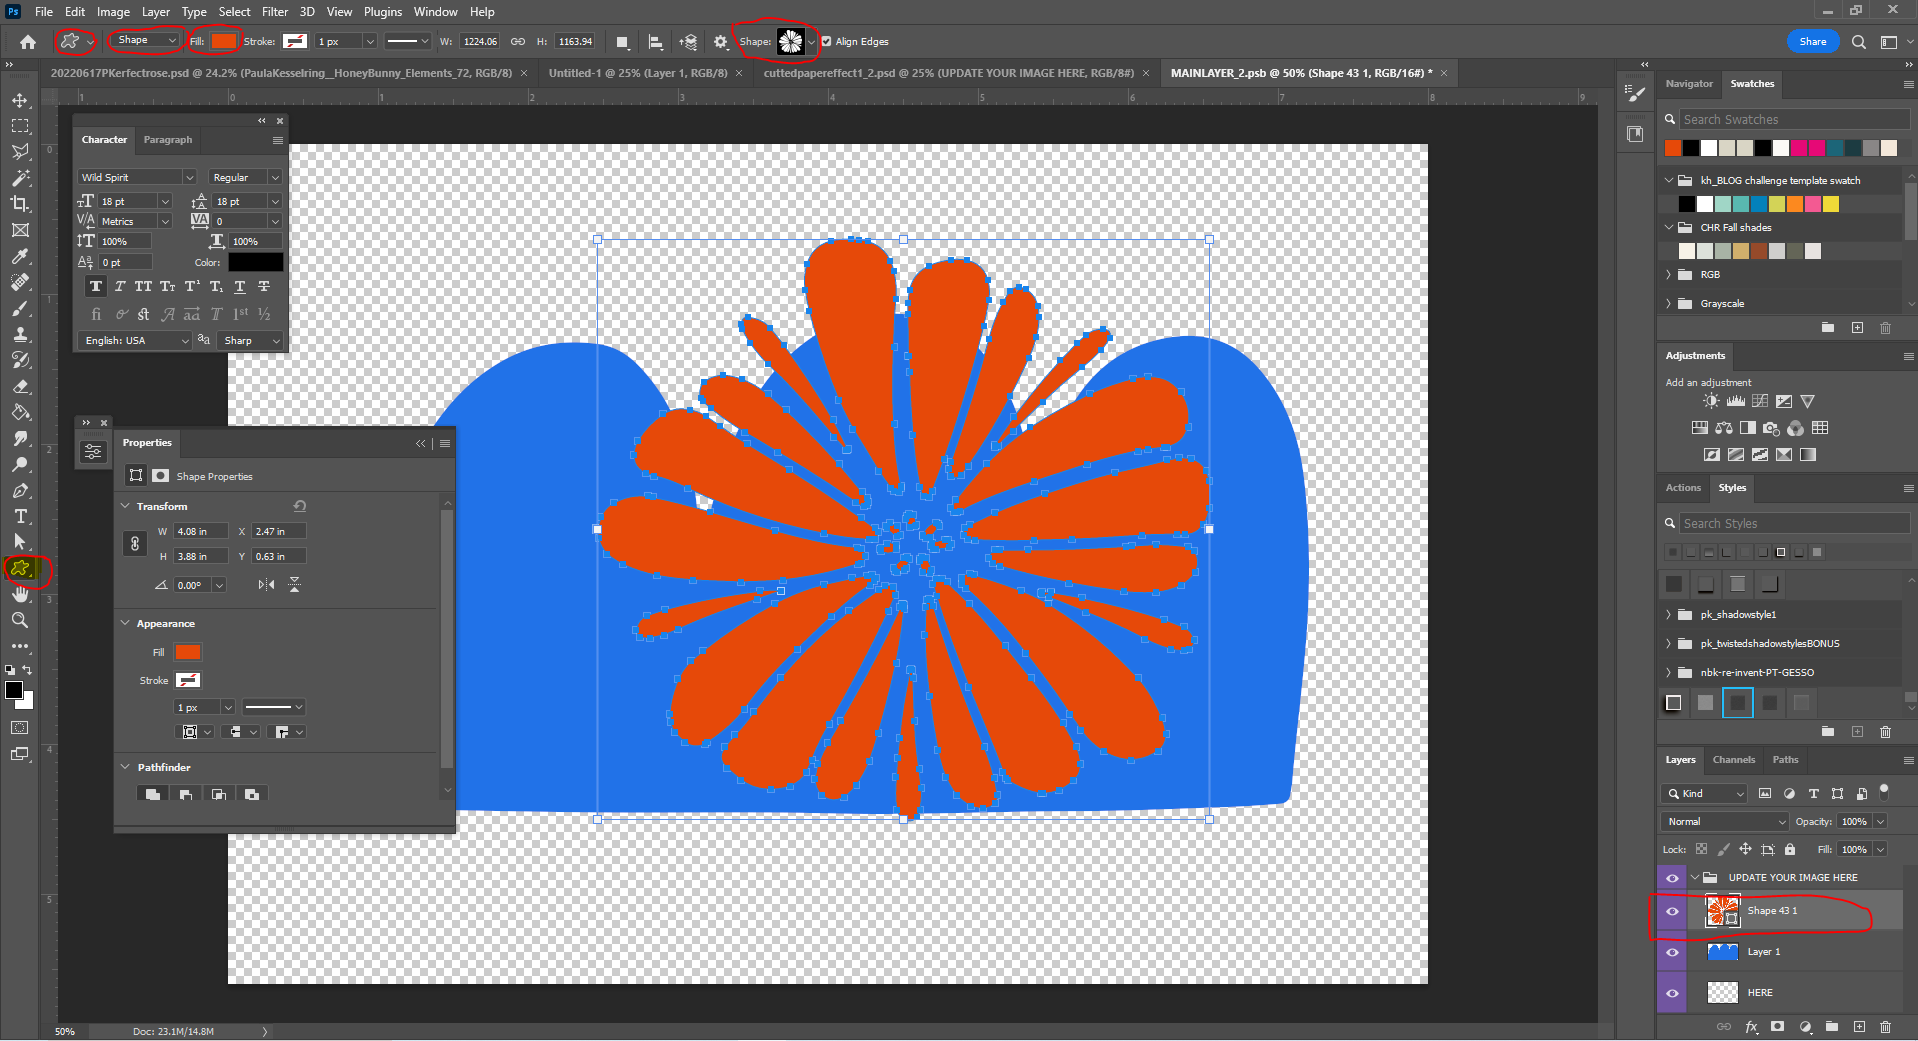
3) Using the Custom shape tool chose your shape and then draw out your custom shape. (make sure the top tool bar reflects “shape” and not path or pixels in the drop down next to the tool.
or
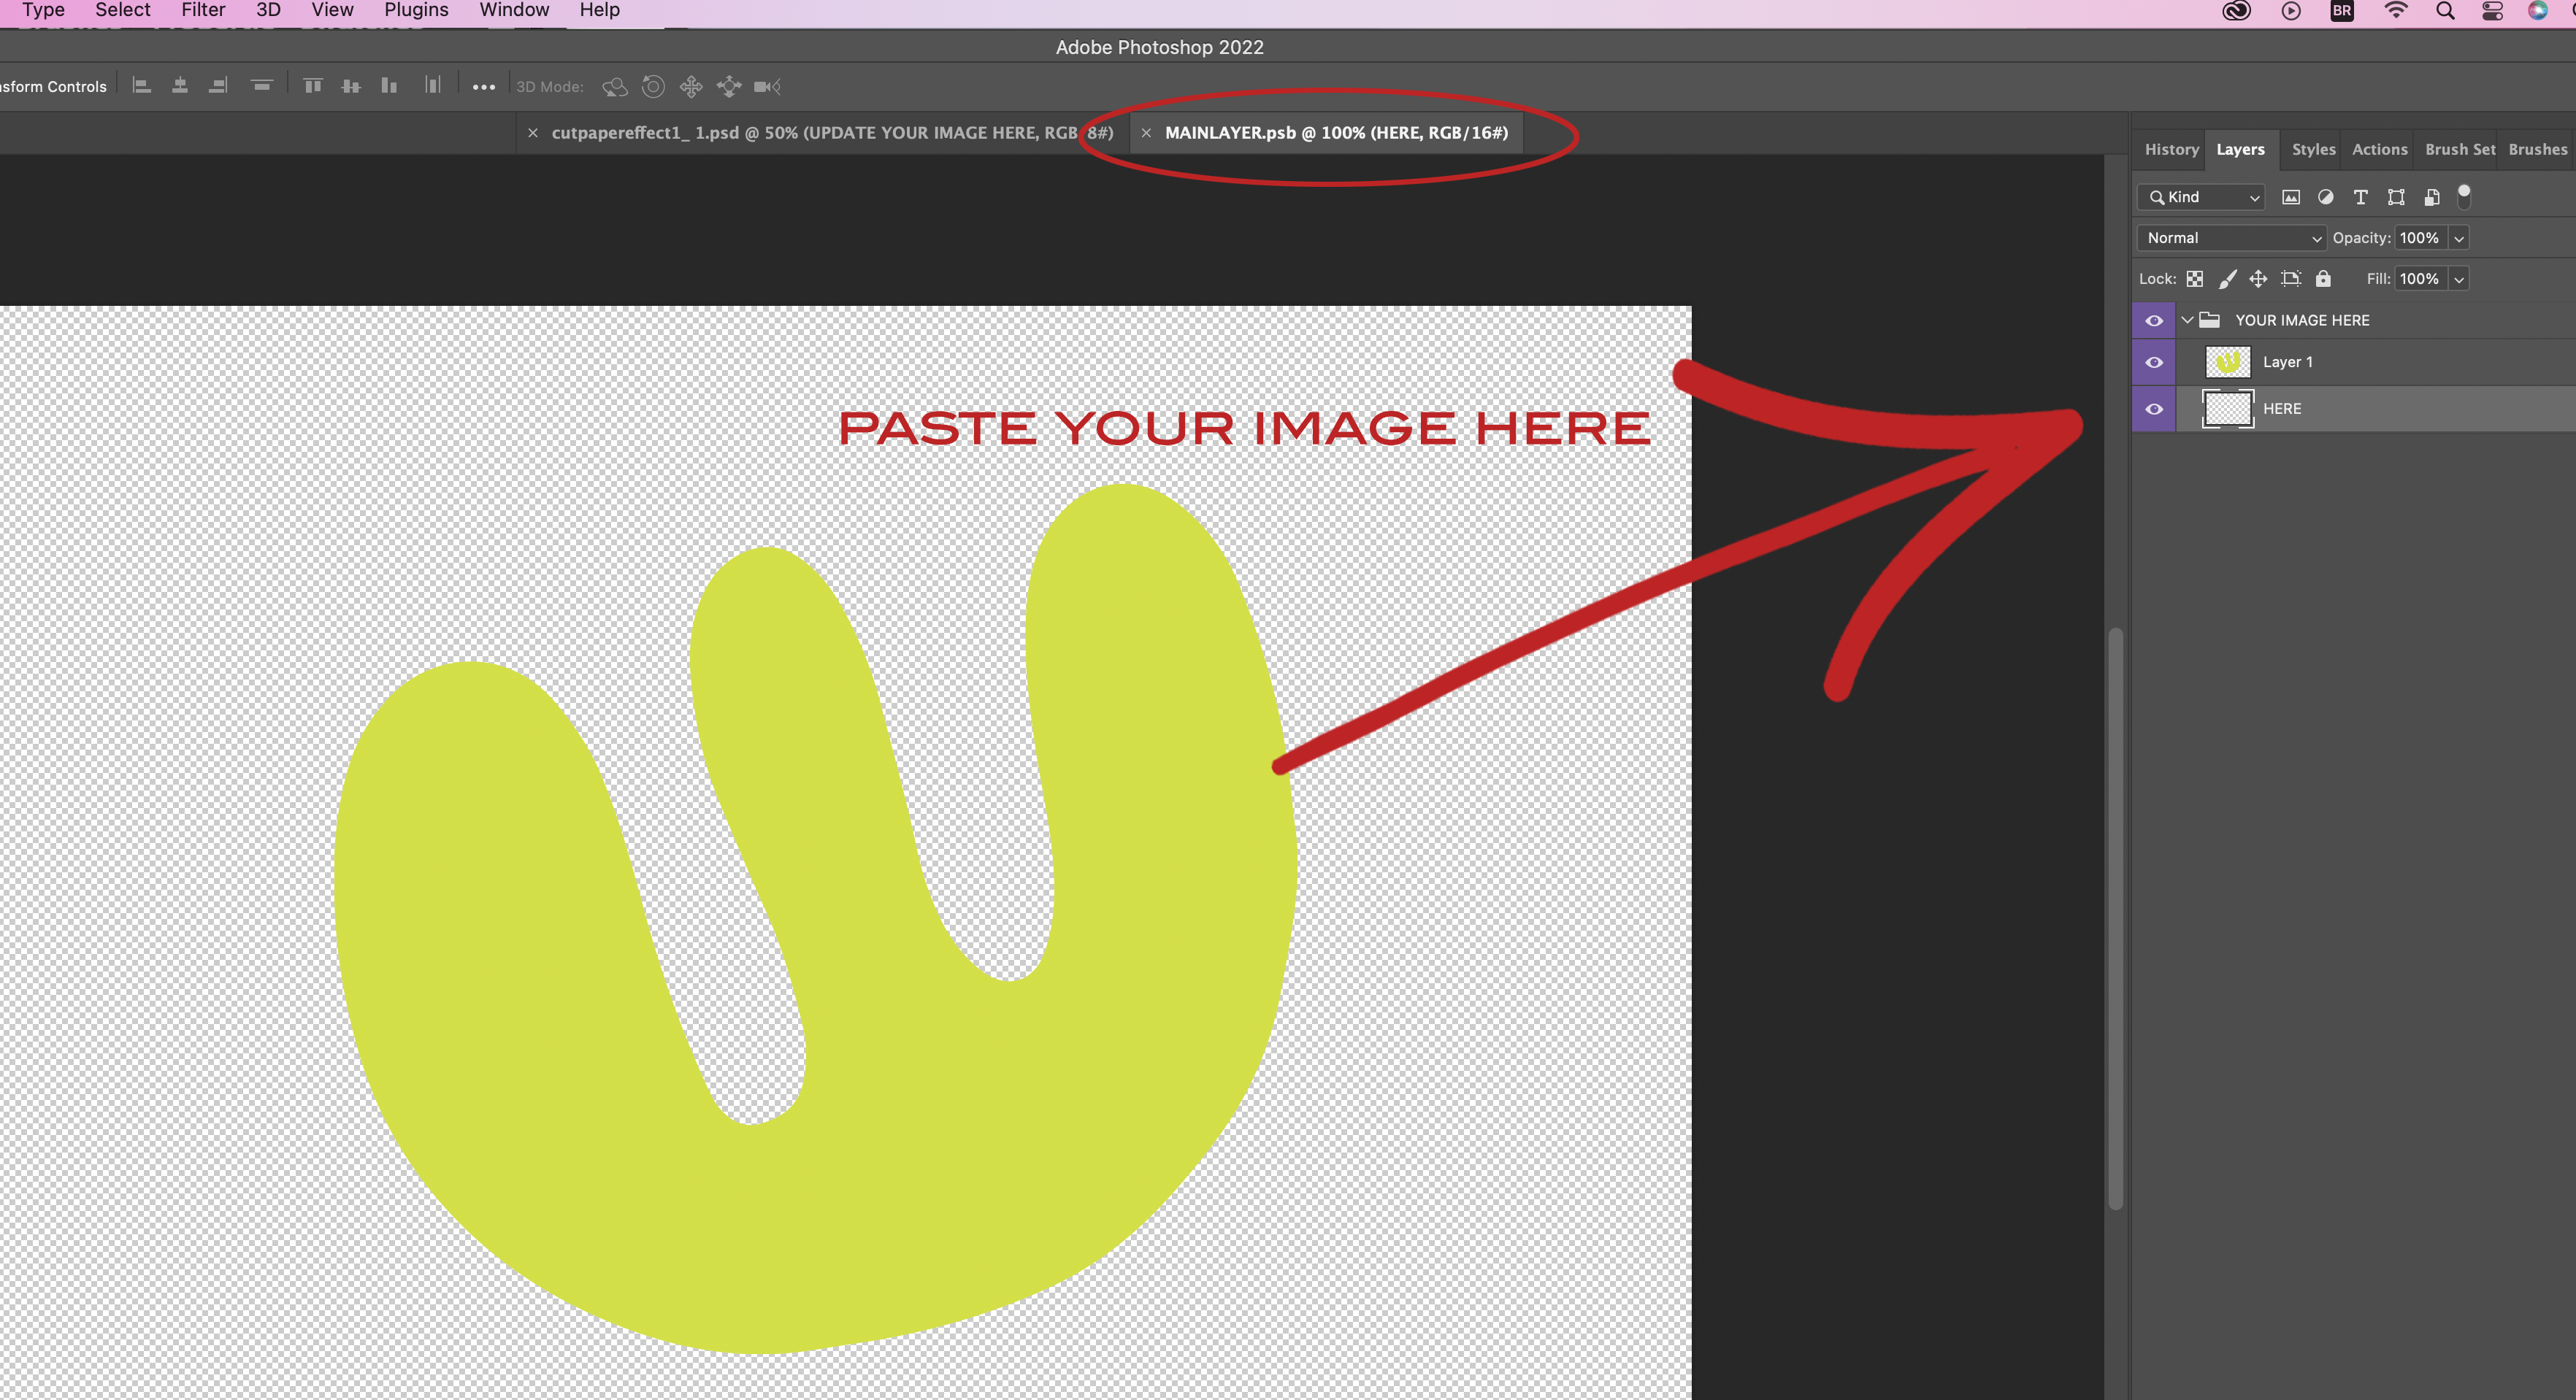
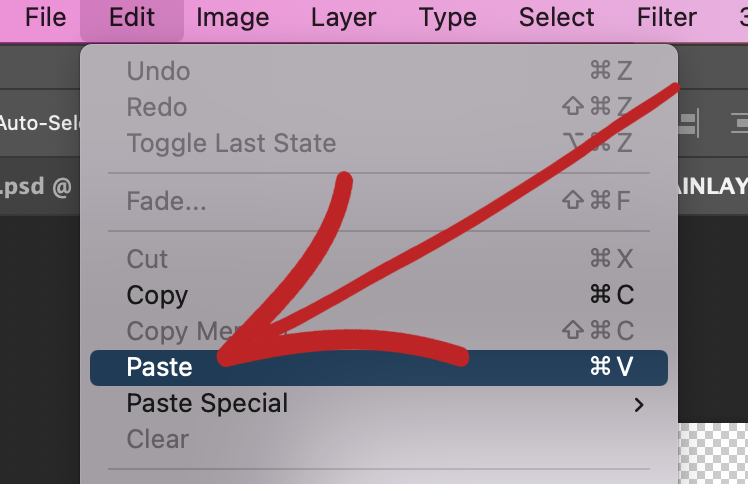
You can choose an image from your personal stuff and paste it into the PSB file.
4) choose Okay to make the custom shape.
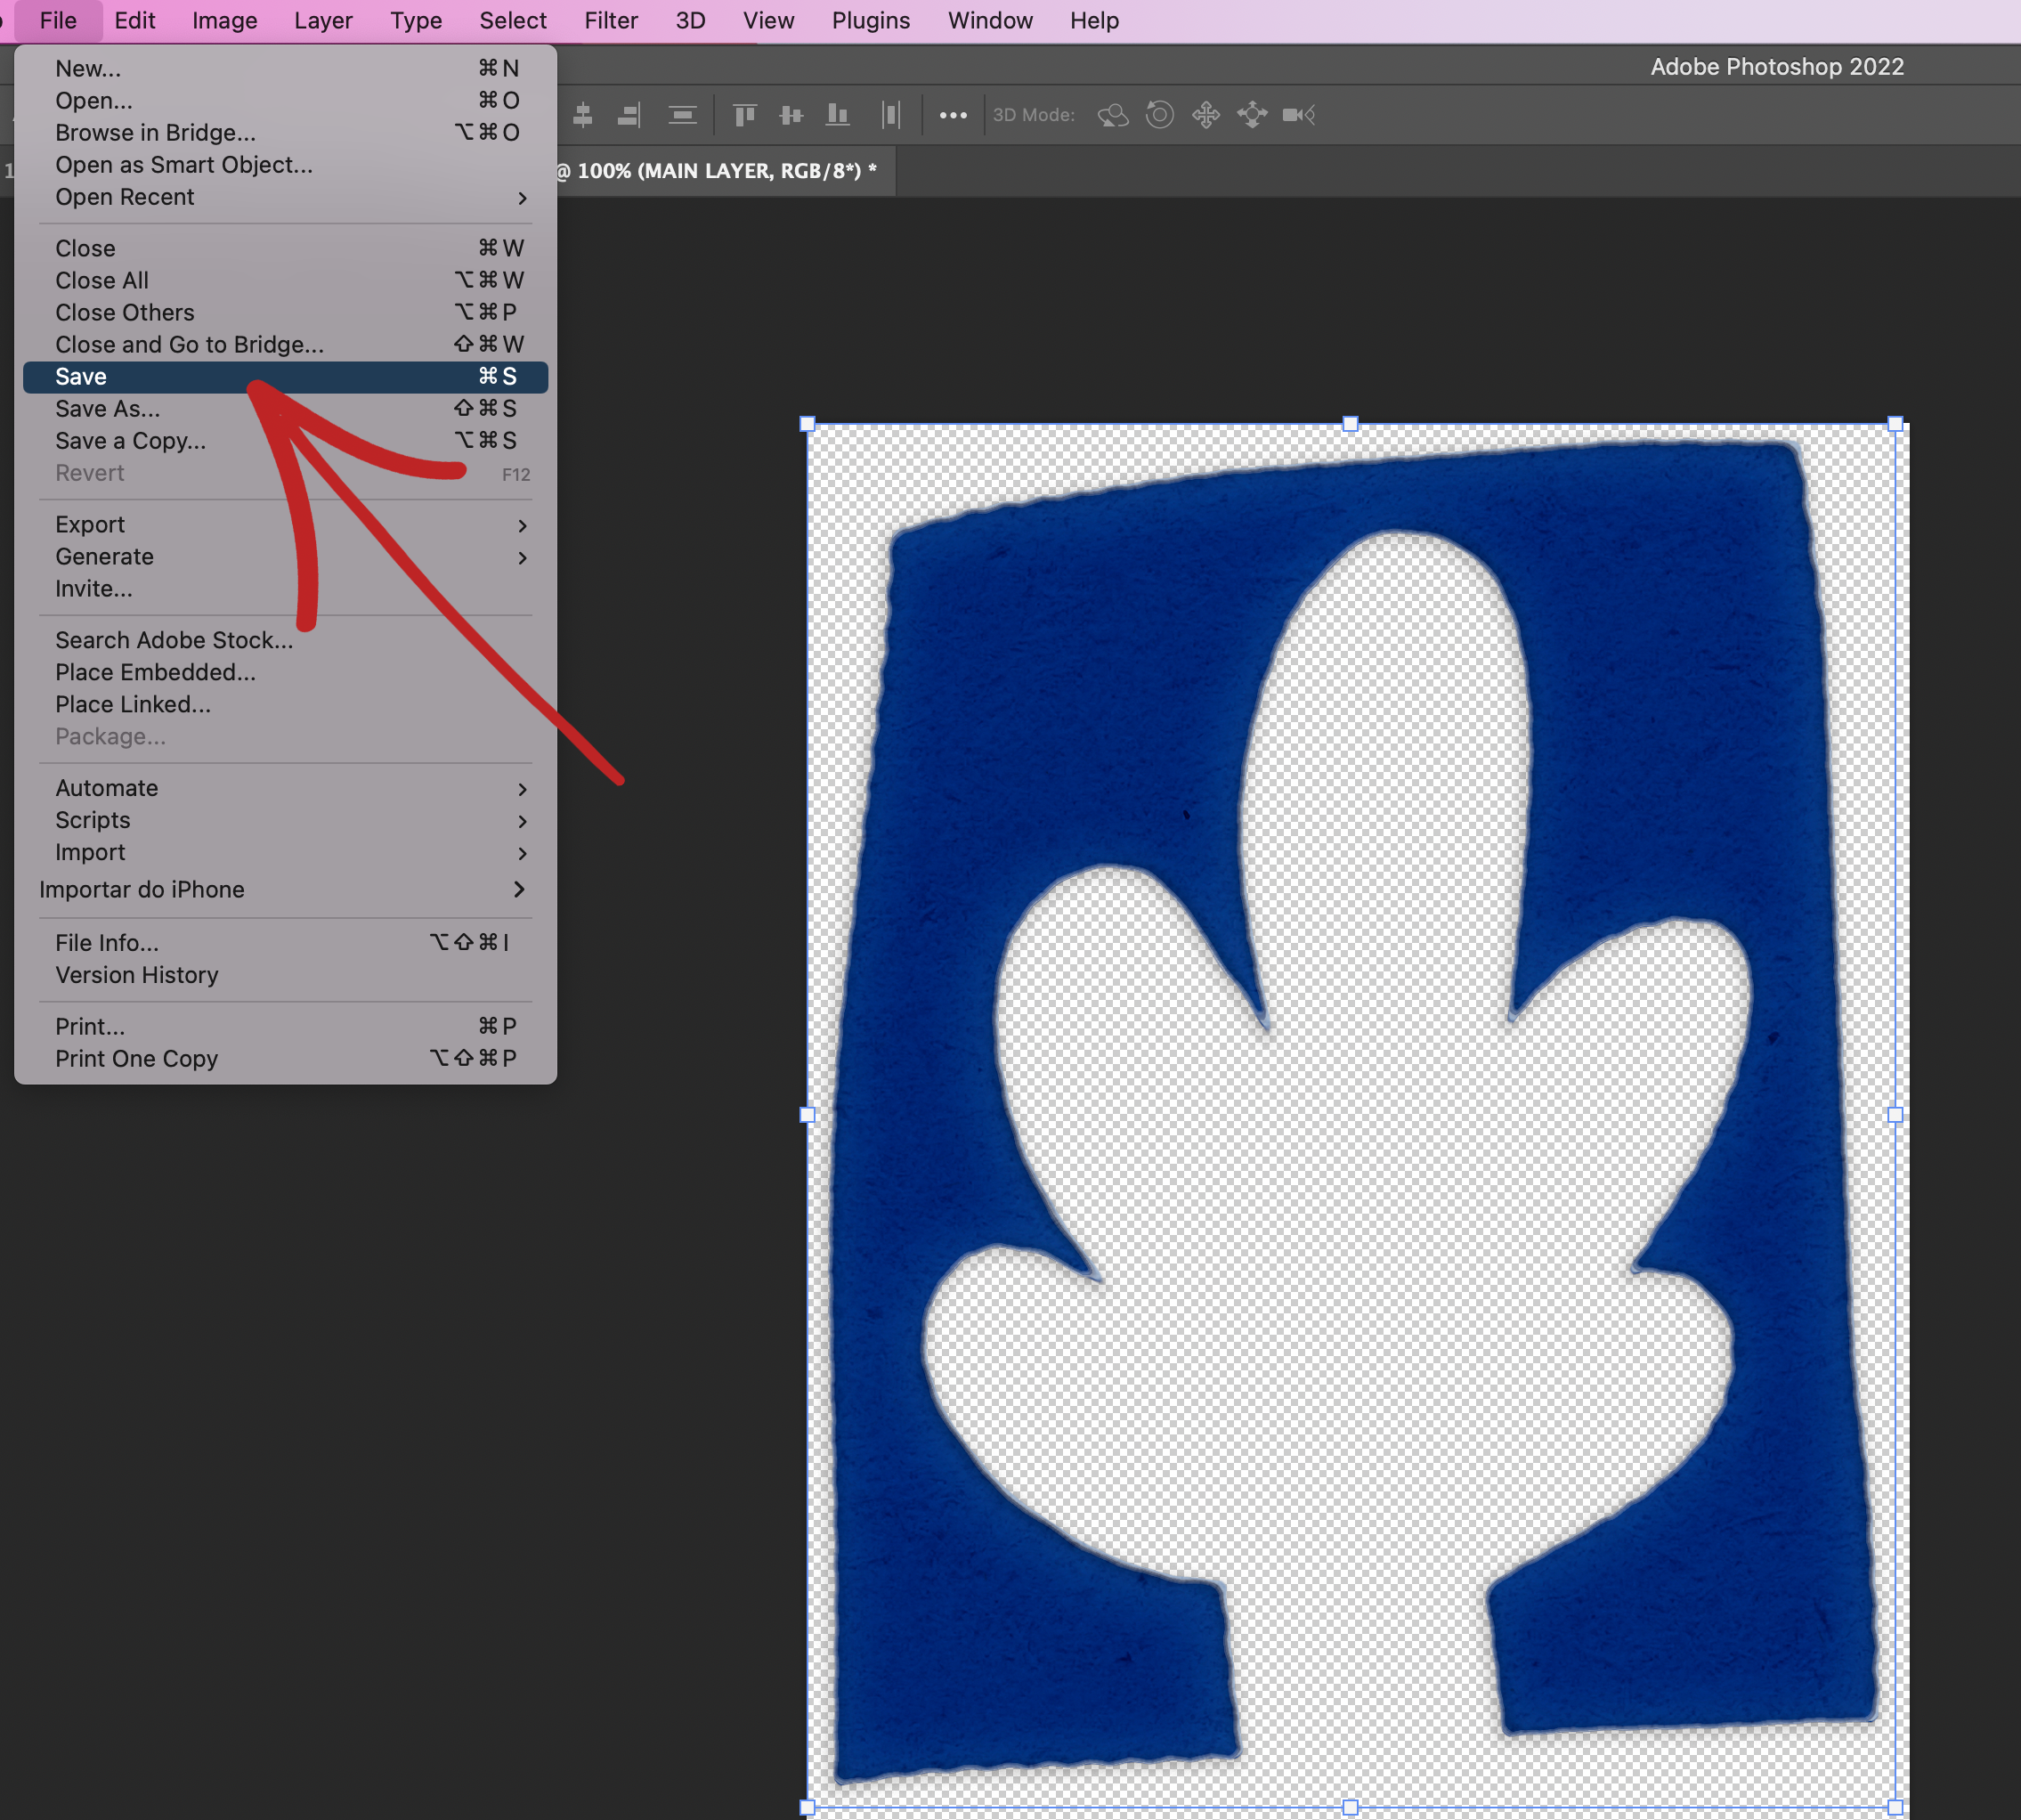
5) Turn off the original shape (blue one) so all you have is your new shape.
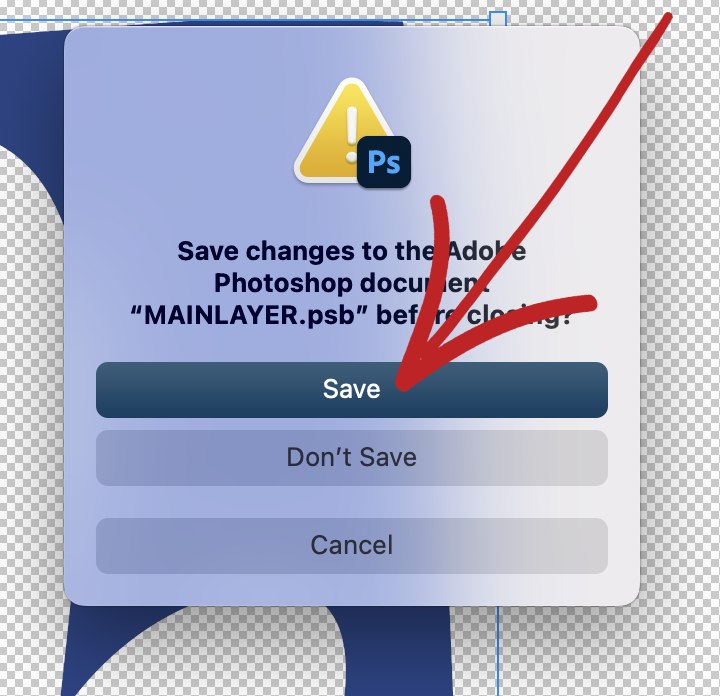
6) Choose File > Save
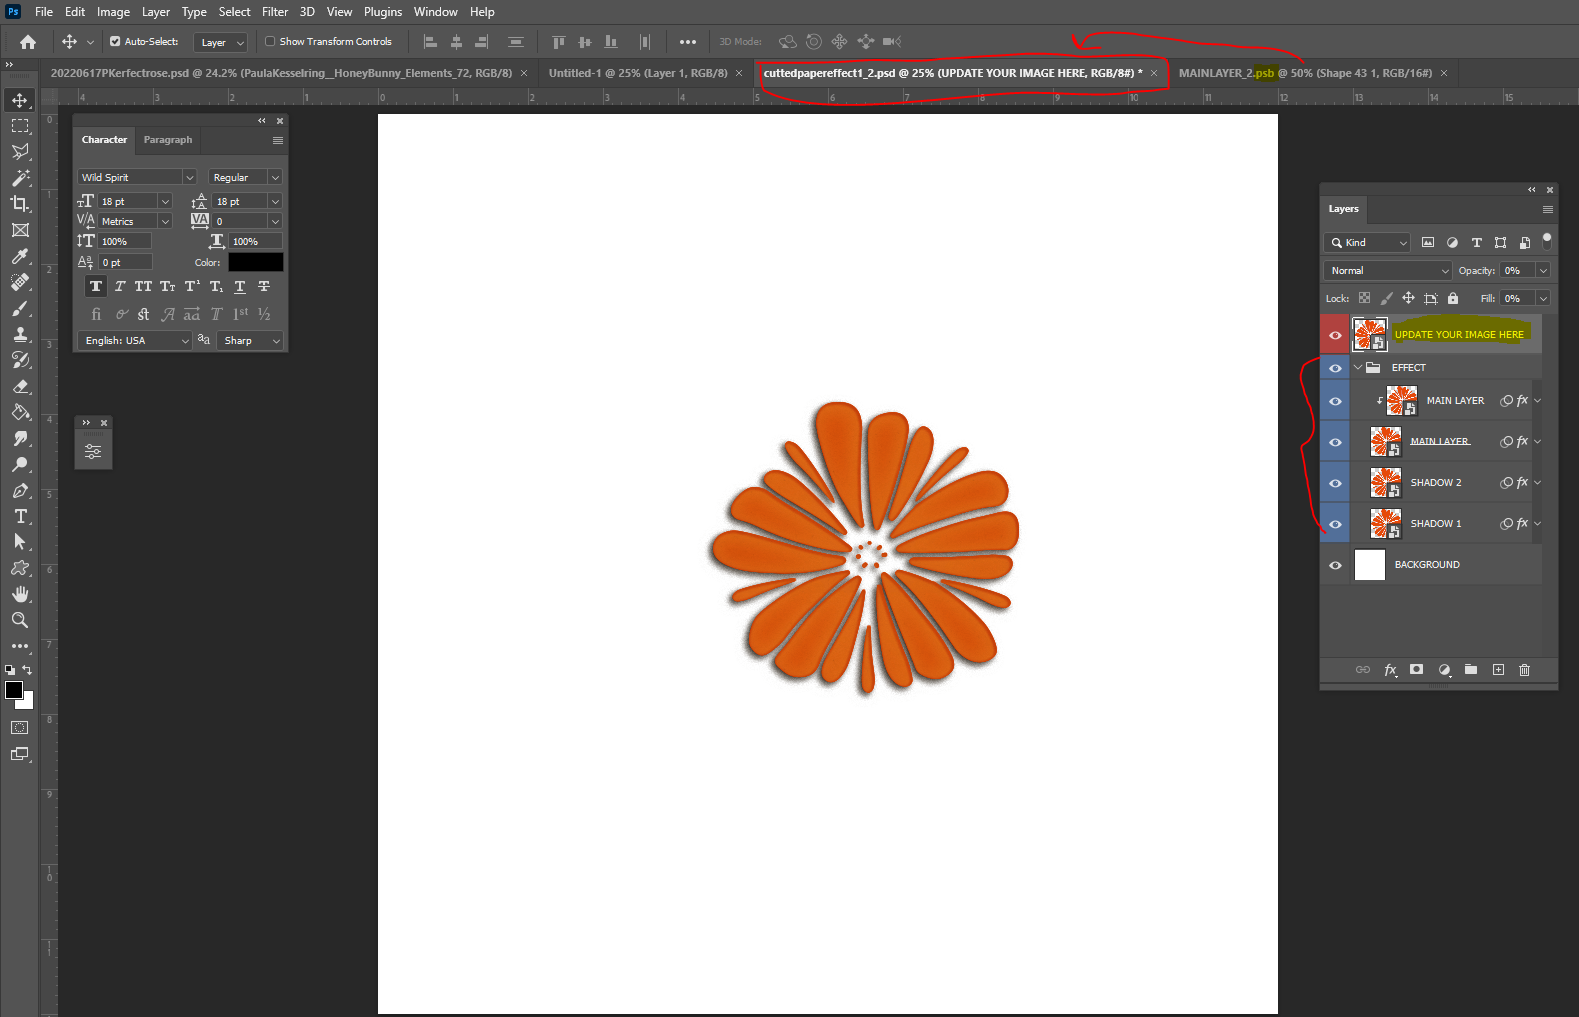
7) This will update the shape or Image in the original PSD file.
or
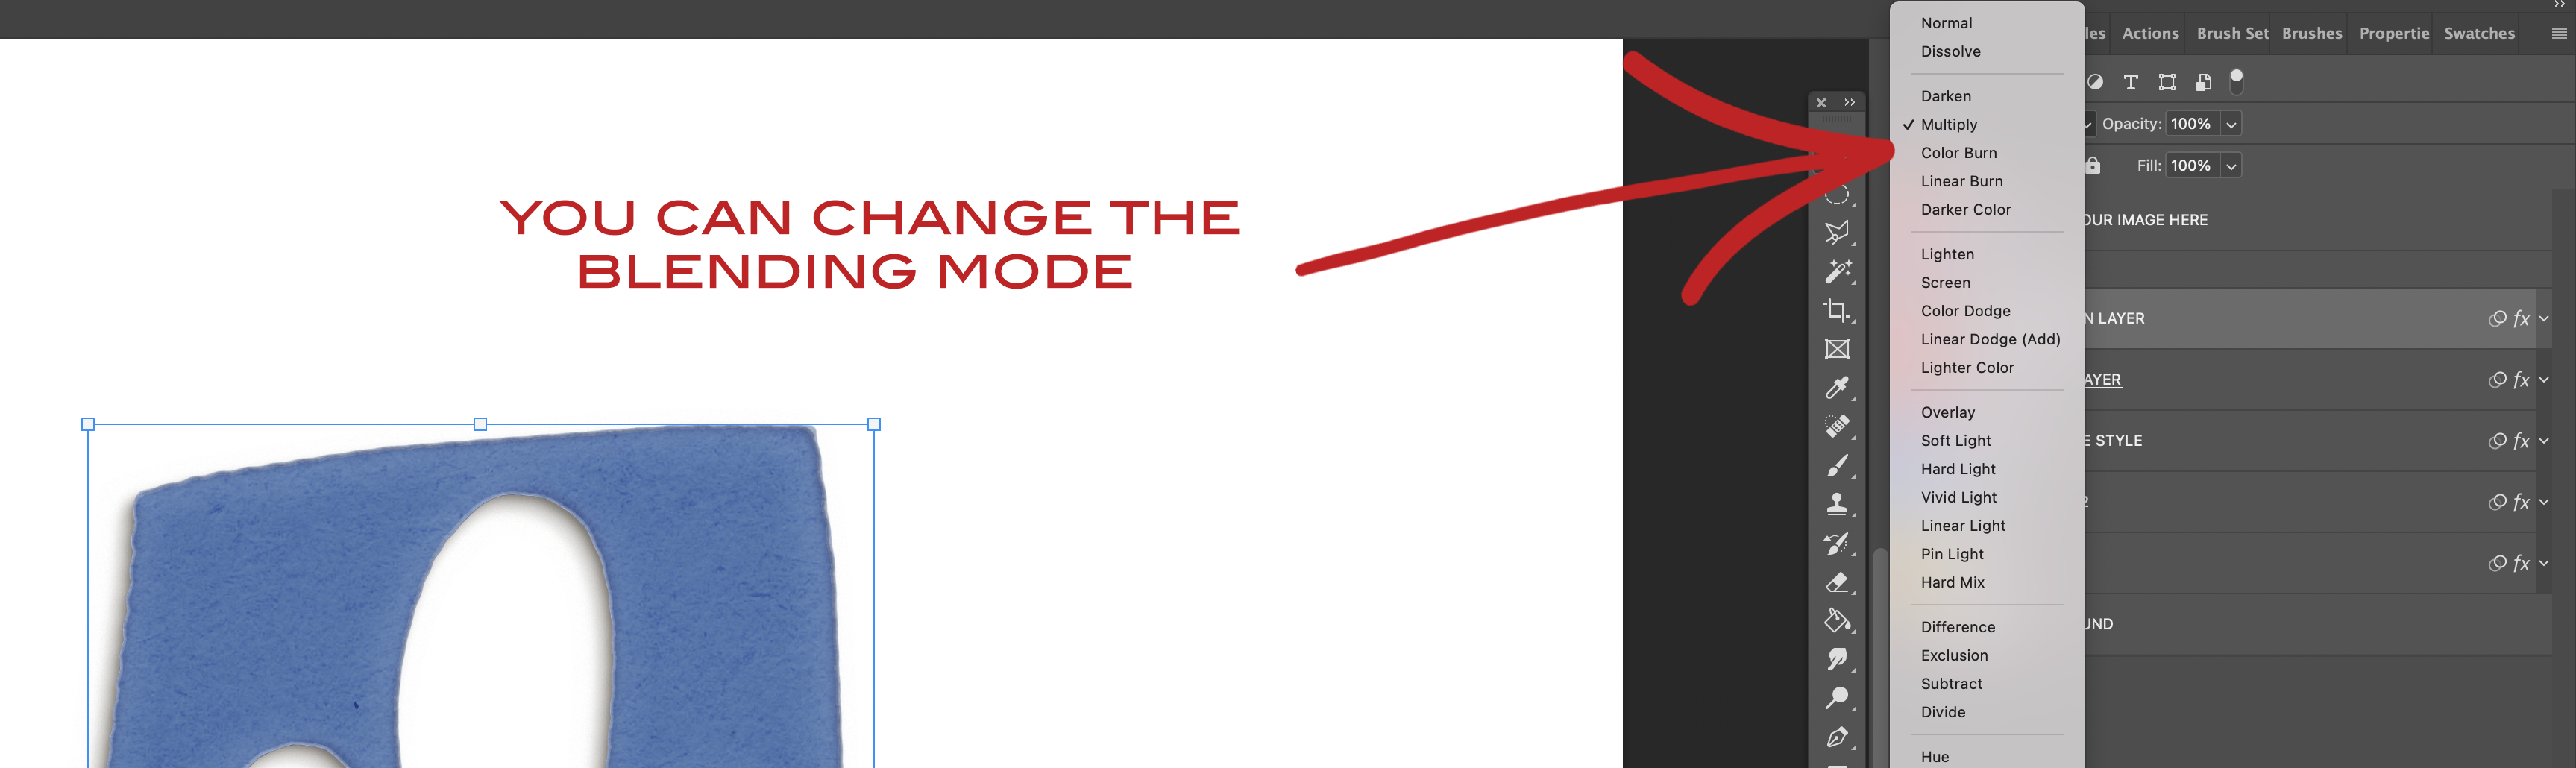
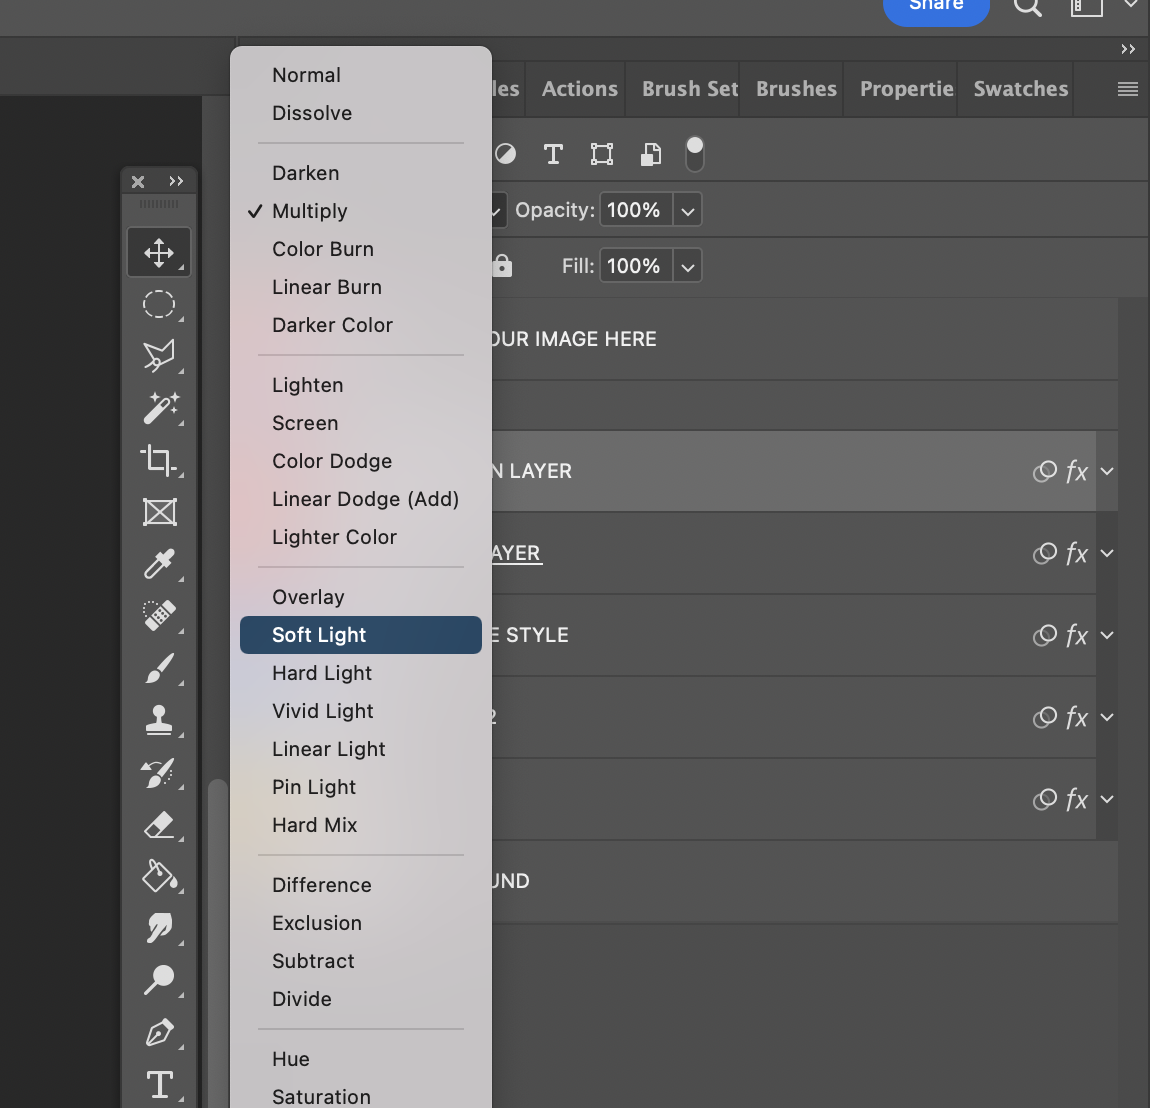
8) Now you can adjust blend modes of your layers, attach papers, change colors if you wish.
9) You will have 2 types of shadow – you can use one of them or none.

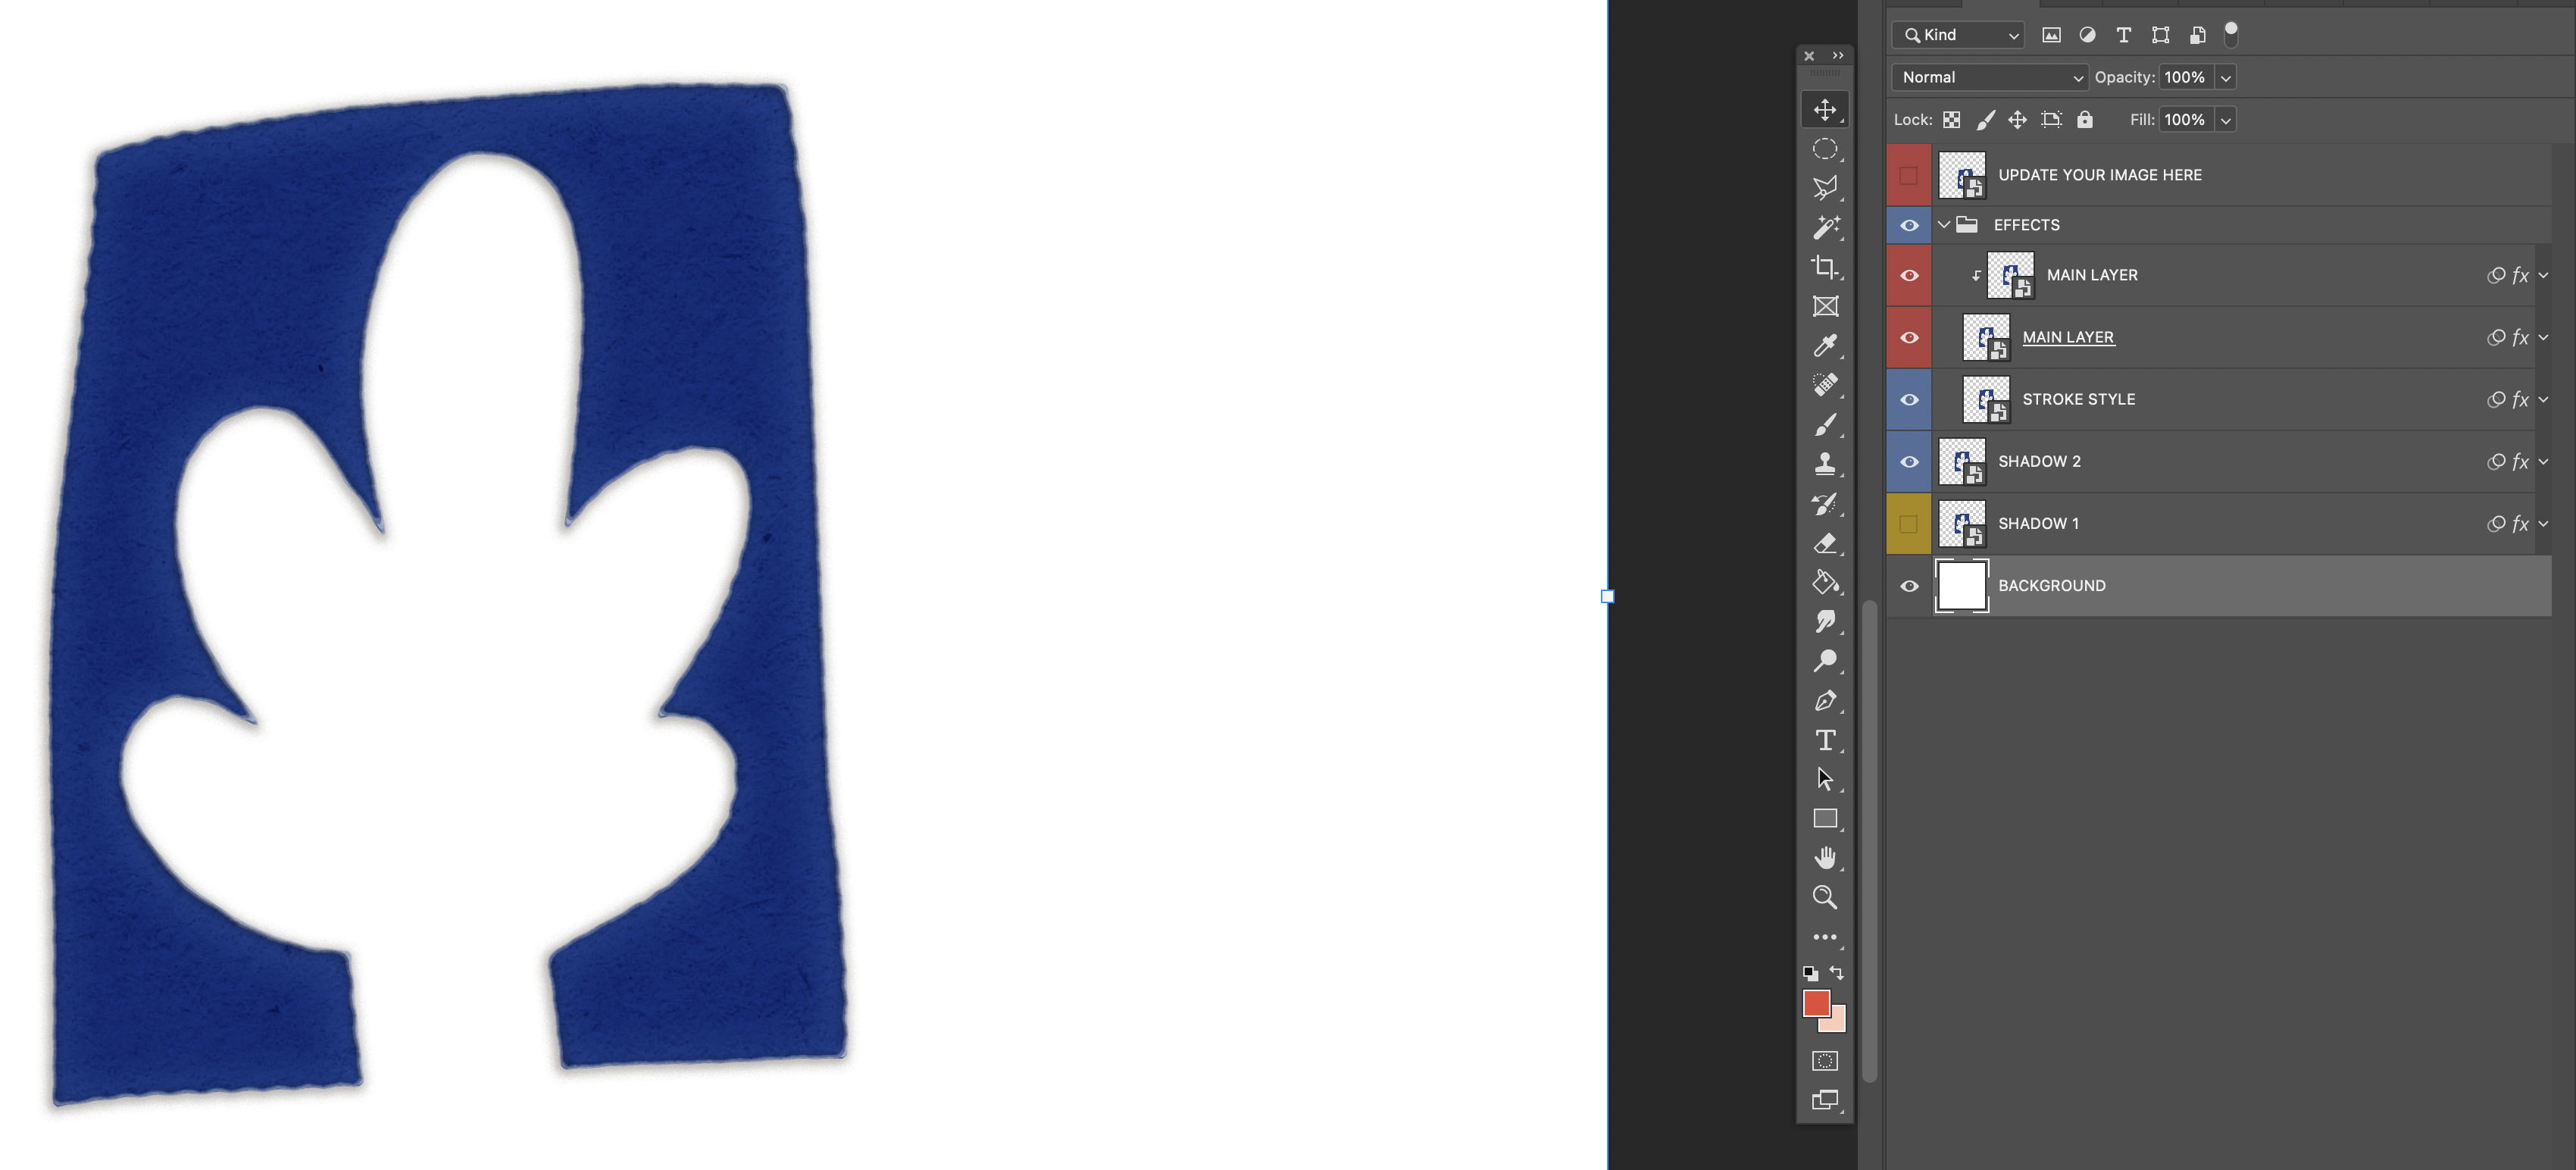
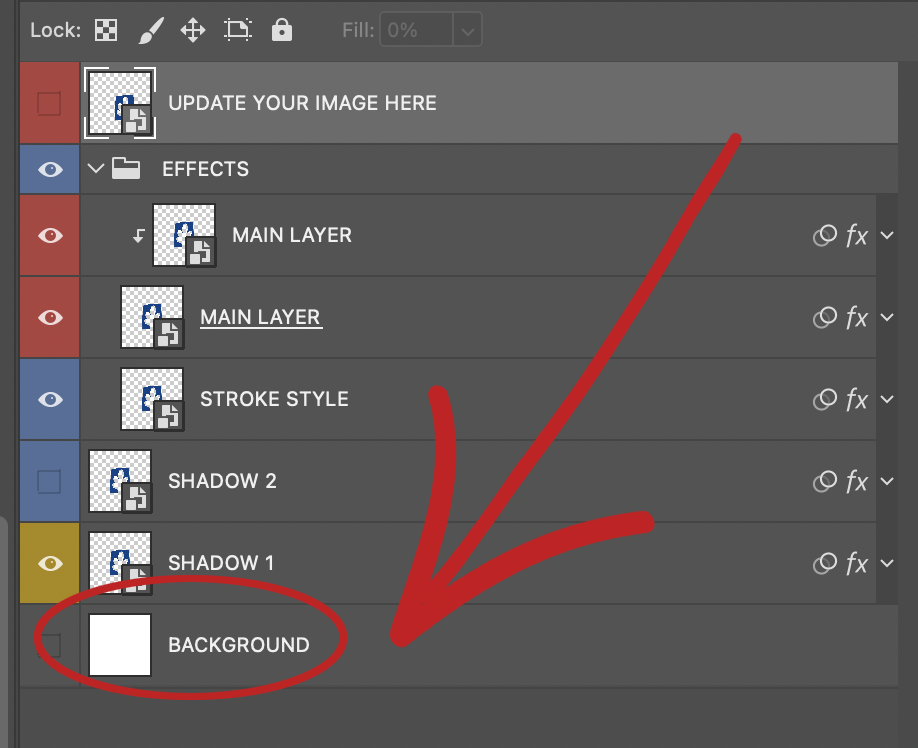
10) Delete or turn off eye of background layer and save new shape as a png file, or Highlight/select all the layers in the layer pallet under the EFFECT group and drag to your layout or create a new image merging visible the layers and select-copy-paste in a new file.


11) Save this new image.
12) Close the Cut File Effect PSD (1, 2 or 3)
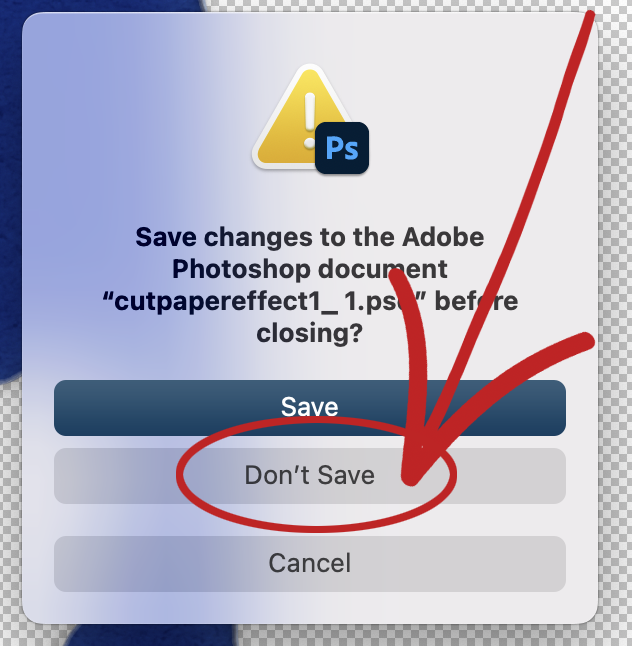
13) DON’T SAVE THE Cut File Effect PSD (1, 2 or 3).
14) Create your new page using your new image!
So much fun, so many options!!!!